Creating and managing clocks
Clocks are the hour templates used by Scheduler to determine the structure of your station's logs.
You can create as many clocks as you need and swap them out if you need to make changes to your regular output:
⏱️ Creating clocks
- Go to the 'Clocks' tab in your Scheduler library.
- Press the green 'New clock' button at the top to get started.
- You'll see the 'New clock' screen. Start by entering a name for the clock and selecting a colour.
- Tap 'Create clock' to finish, and you'll be taken to the clock page, where you can start adding items.
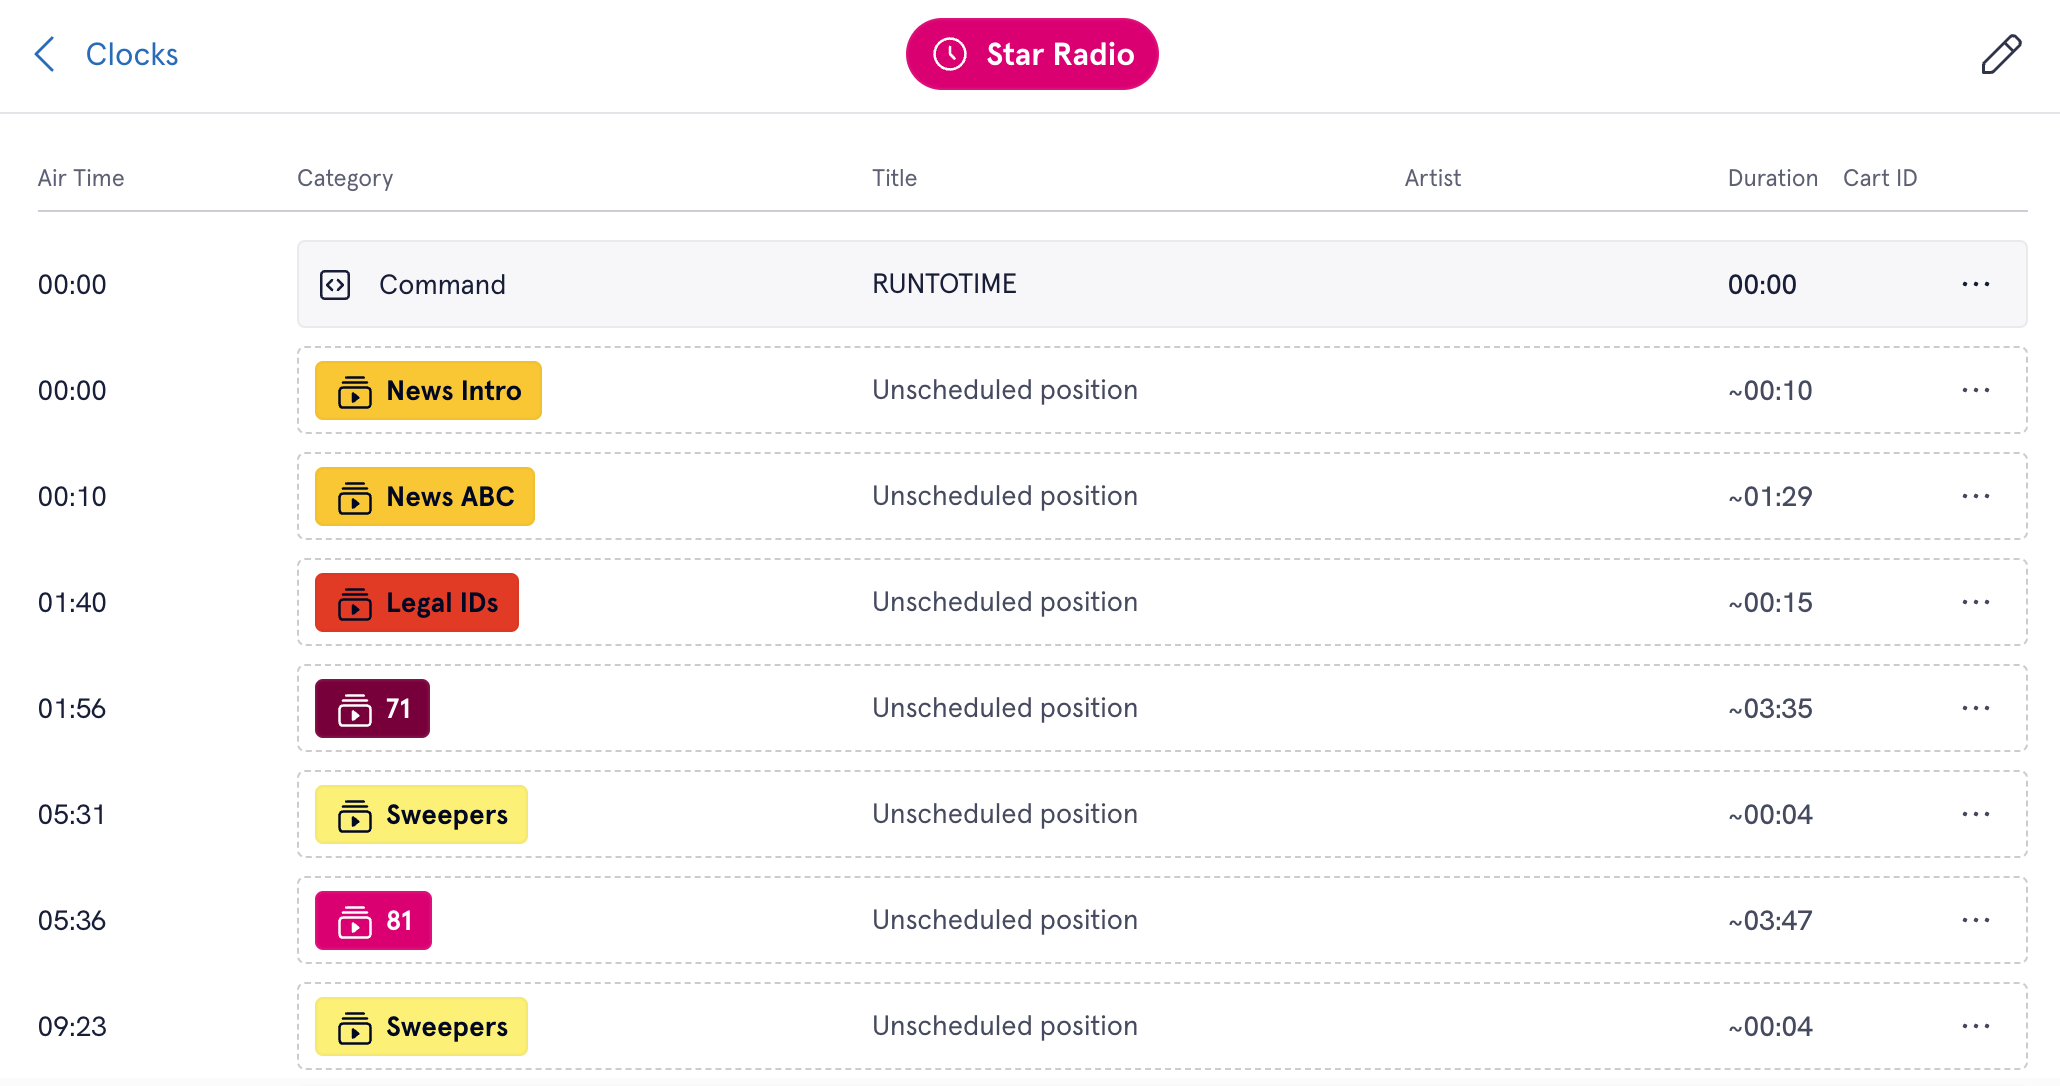
⤵️ Manage a clock's contents
- Head to the 'Clocks' tab and tap on the clock you want to add items to, or create a new clock.
- Use the drawer on the left to find categories, audio or commands to add to the clock.
- Drag and drop an item from the drawer on the left into the clock on the right.
- Your changes are saved automatically.
📝 Edit a clock's name or colour
- Go to the 'Clocks' tab and tap on the title of the clock you want to edit.
- Tap the pencil icon in the top-right corner.
- You'll be able to edit the clock's title and colour.
- Tap 'Save changes' to finish.
📋 Duplicate a clock
- Head to the 'Clocks' page and tap the three dots next to the clock you want to duplicate.
- Tap the 'Duplicate' button. A copy of your original clock will be created beneath it.
- Follow the steps above to edit the clock and change its contents.
🗑️ Delete a clock
- Head to the 'Clocks' page and tap the three dots next to the clock you want to delete.
- Tap the 'Delete' button.
- You will be asked if you are sure you want to delete the clock. Confirm whether you're happy to never see this clock again.