Reports in Scheduler
Aiir Scheduler allows you to easily run reports to find out information about the audio items scheduled into your logs. They can be used for royalties, music licensing or analysing your station sound.
On this page, we'll walk you through the steps to create a report:
📝 Creating a report
-
Go to your Scheduler Library, and click 'Reports' at the top of the page:

Reports are located on the top menu within your Library. - Click 'Create a report'
- Set up the report by choosing whether it should:

- Listing audio log entries which match your specified criteria, such as creating royalty reports.
- Analyse how many audio items match over a period of time. This is ideal for checking whether your logs meet any required thresholds, such as playing enough local artists or achieving a specific gender balance.
- Listing audio items in the library.
- Click 'Continue setting up'
-
You will see a basic report template, ready for you to configure.
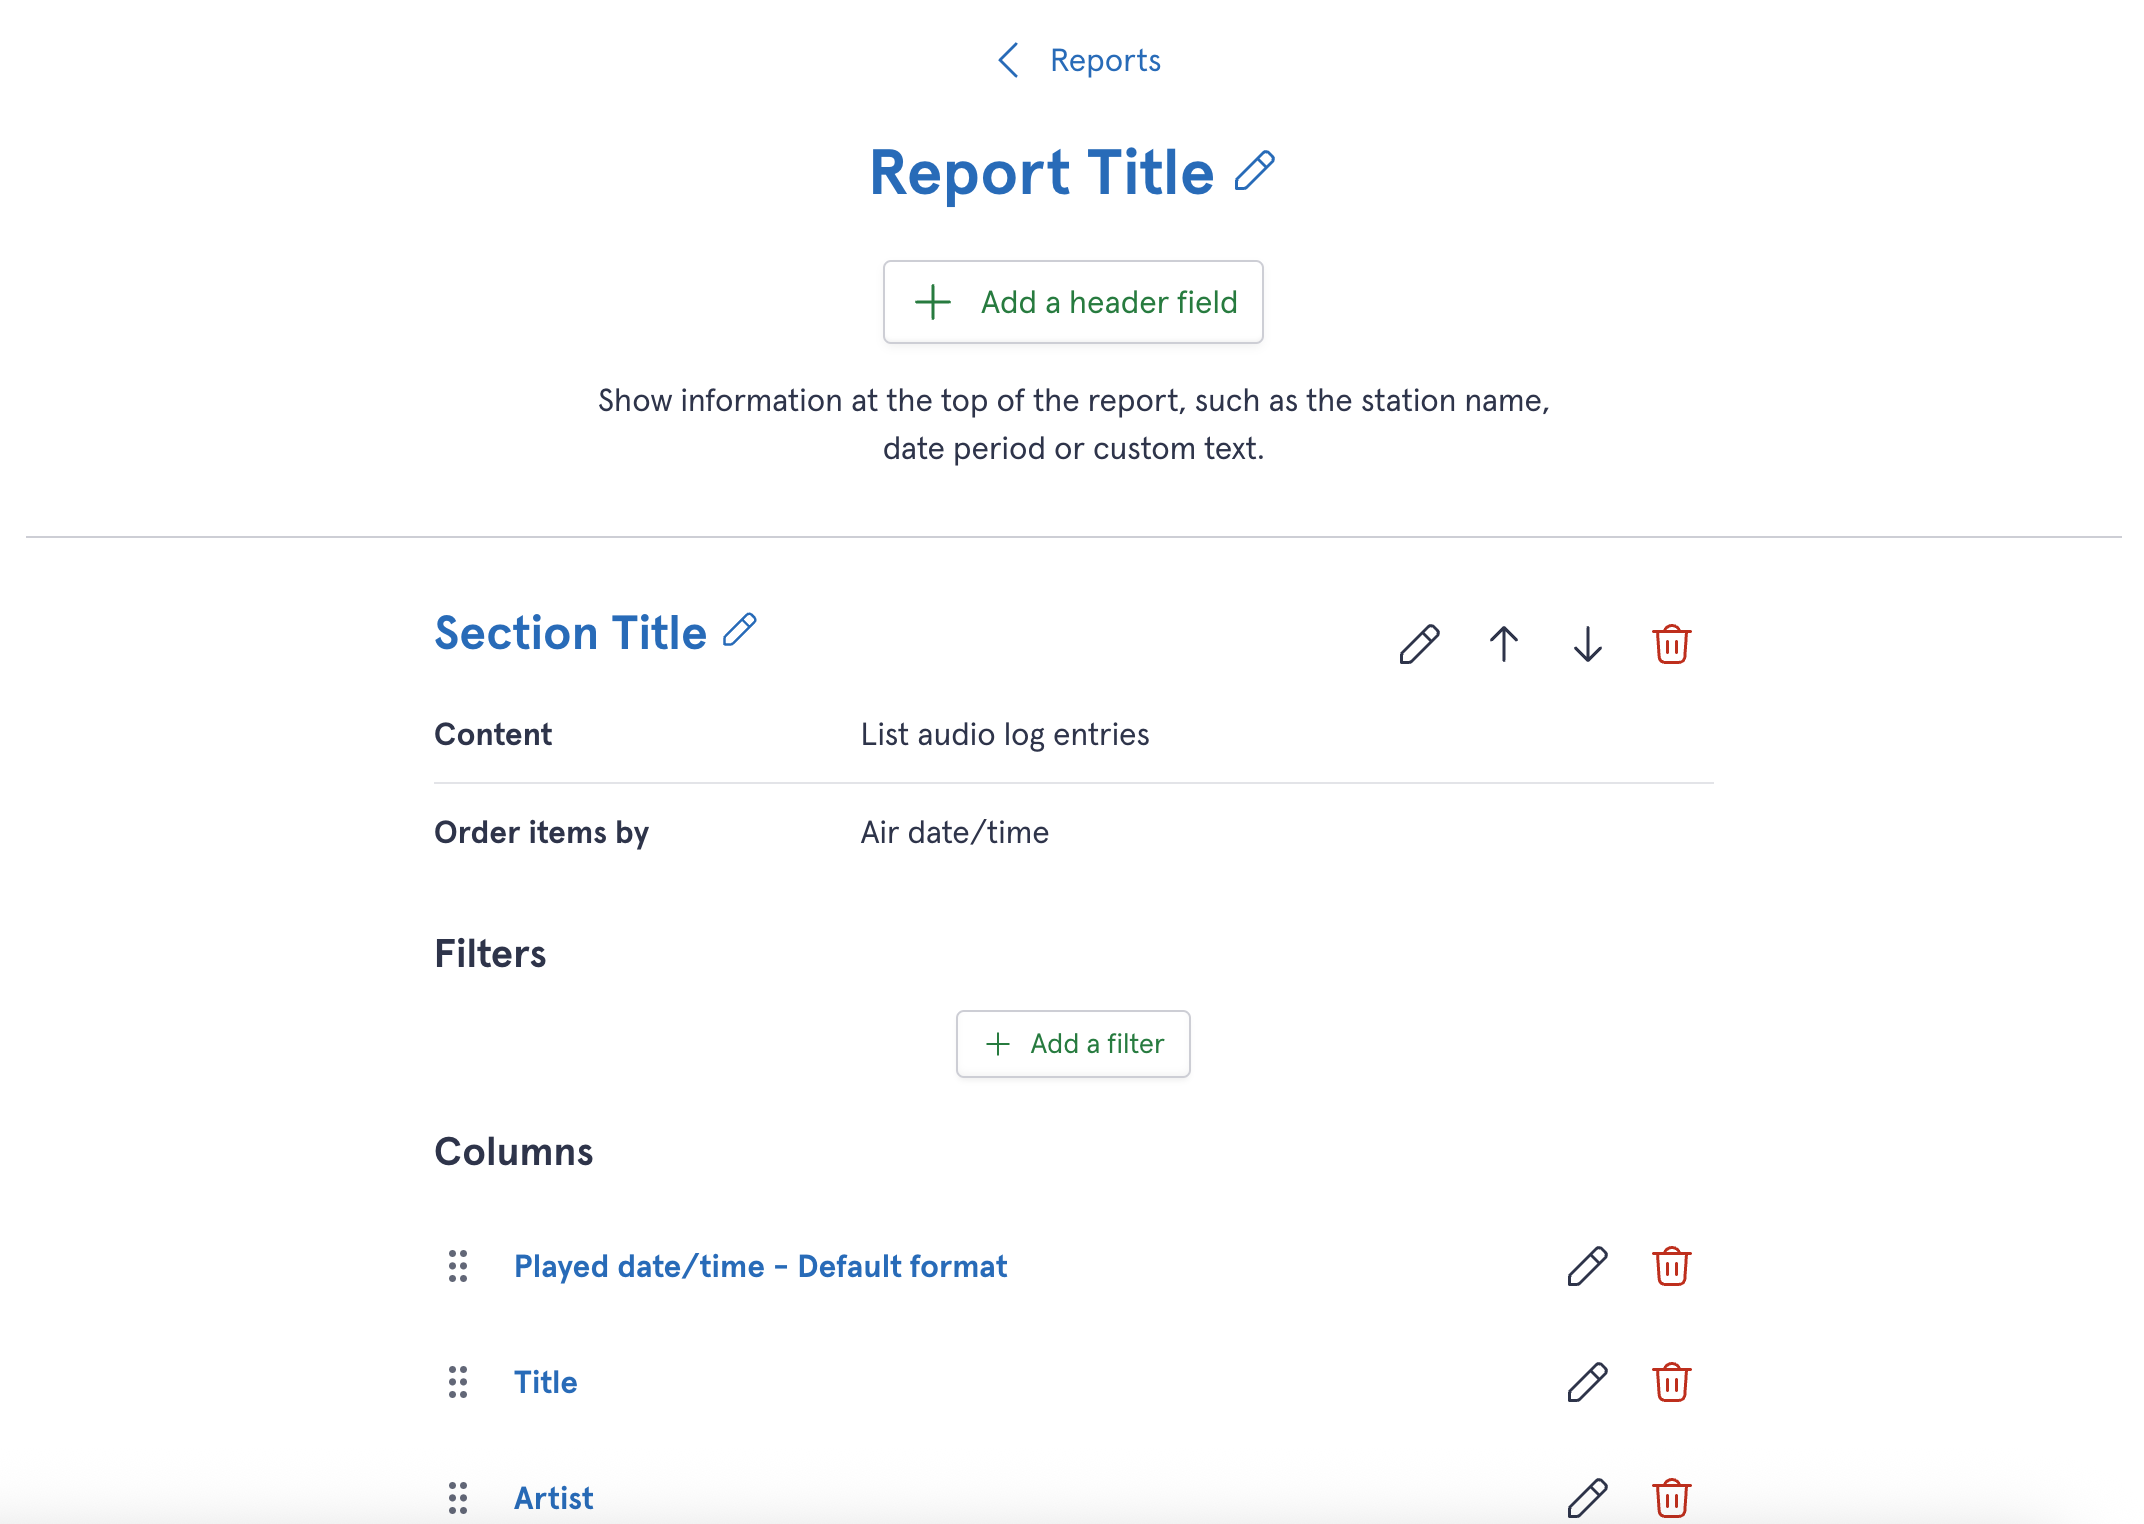
An example report before any filters have been set up.

📚 Header fields
-
Let's work our way down the page. At the top, you've got the report's header fields. Here you can show information you want to include alongside your report, such as the station name or date range. Click 'Add a header field' to add an optional header fields:
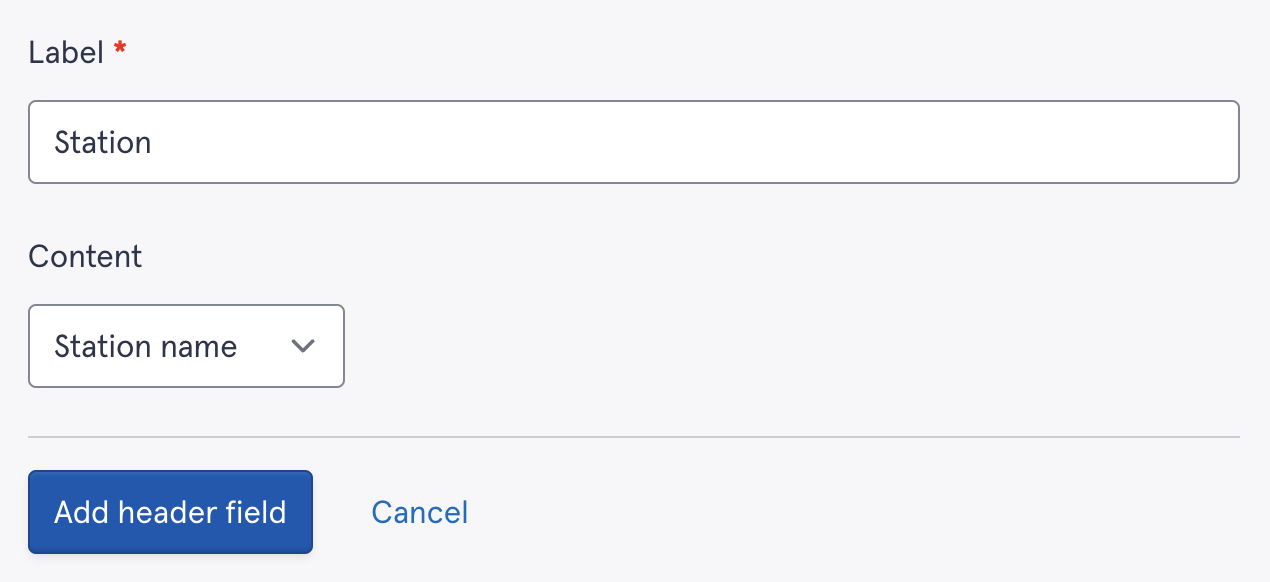
The name of the station your report relates to is one example of a header field. Once you have set up your headers, when you export a PDF report, they will be shown at the top of each page:
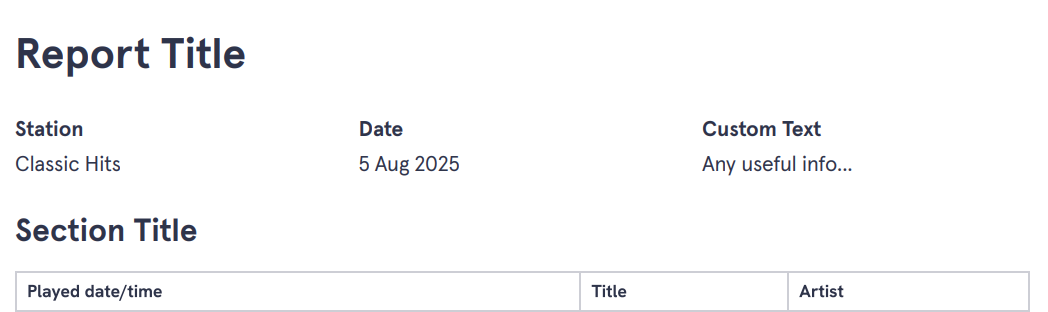
Headers as they appear in a PDF report.


🗂️ Sections
-
Next, you'll see your first (and possibly only) section. Reports can contain as many sections as you like to present different information:
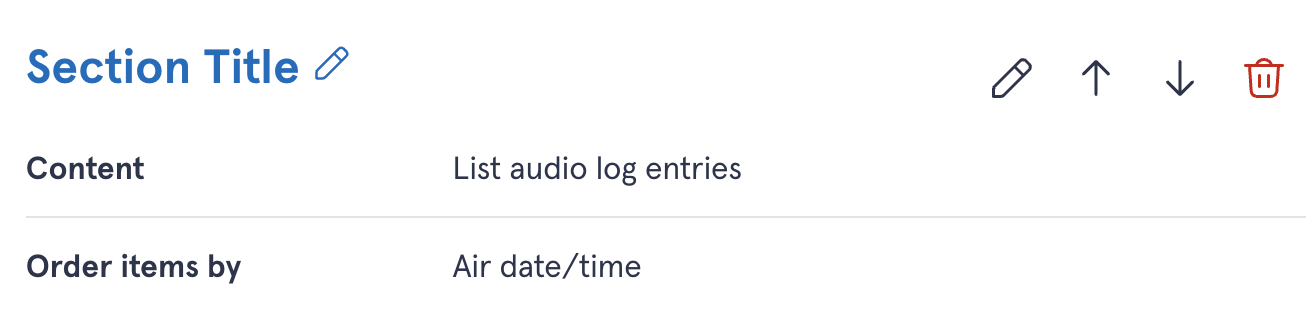
Reports can contain multiple sections, each structured differently. Sections can be given a name to differentiate them, re-ordered using the up and down arrows on the right, or deleted by pressing the trash can.
When editing a section, you can choose how to order items, which will control which other fields you will be able to edit. If ordering by air date/time, you can specify the date range for your report and whether to only count individual audio items once.
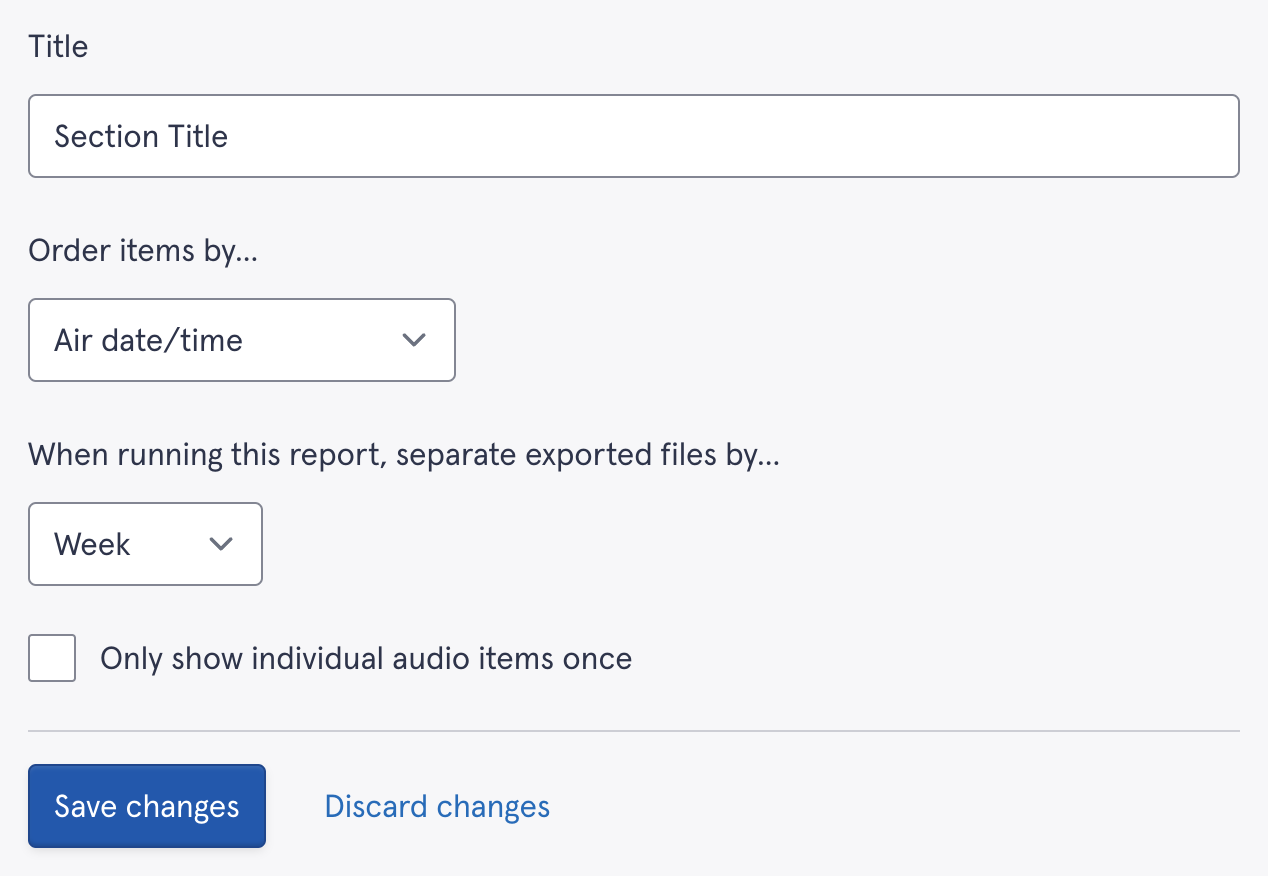
Setting up a section. At the bottom of your page (beneath columns) you will have the option to add additional sections to your report.


🔎 Filters
-
Filters allow you to select which audio items will be included in your report. Items can be filtered by audio type, artist, title, category, tempo, genre, vocal gender, duration, release year, tags, played between, as well as any custom audio fields you have set up for your library.
The options you have to configure your filter beyond that depend on what you are filtering your report by. For example, if you are filtering by Title, you will have a text box where you can type part of a title to include, or you can filter by category and see additional options:
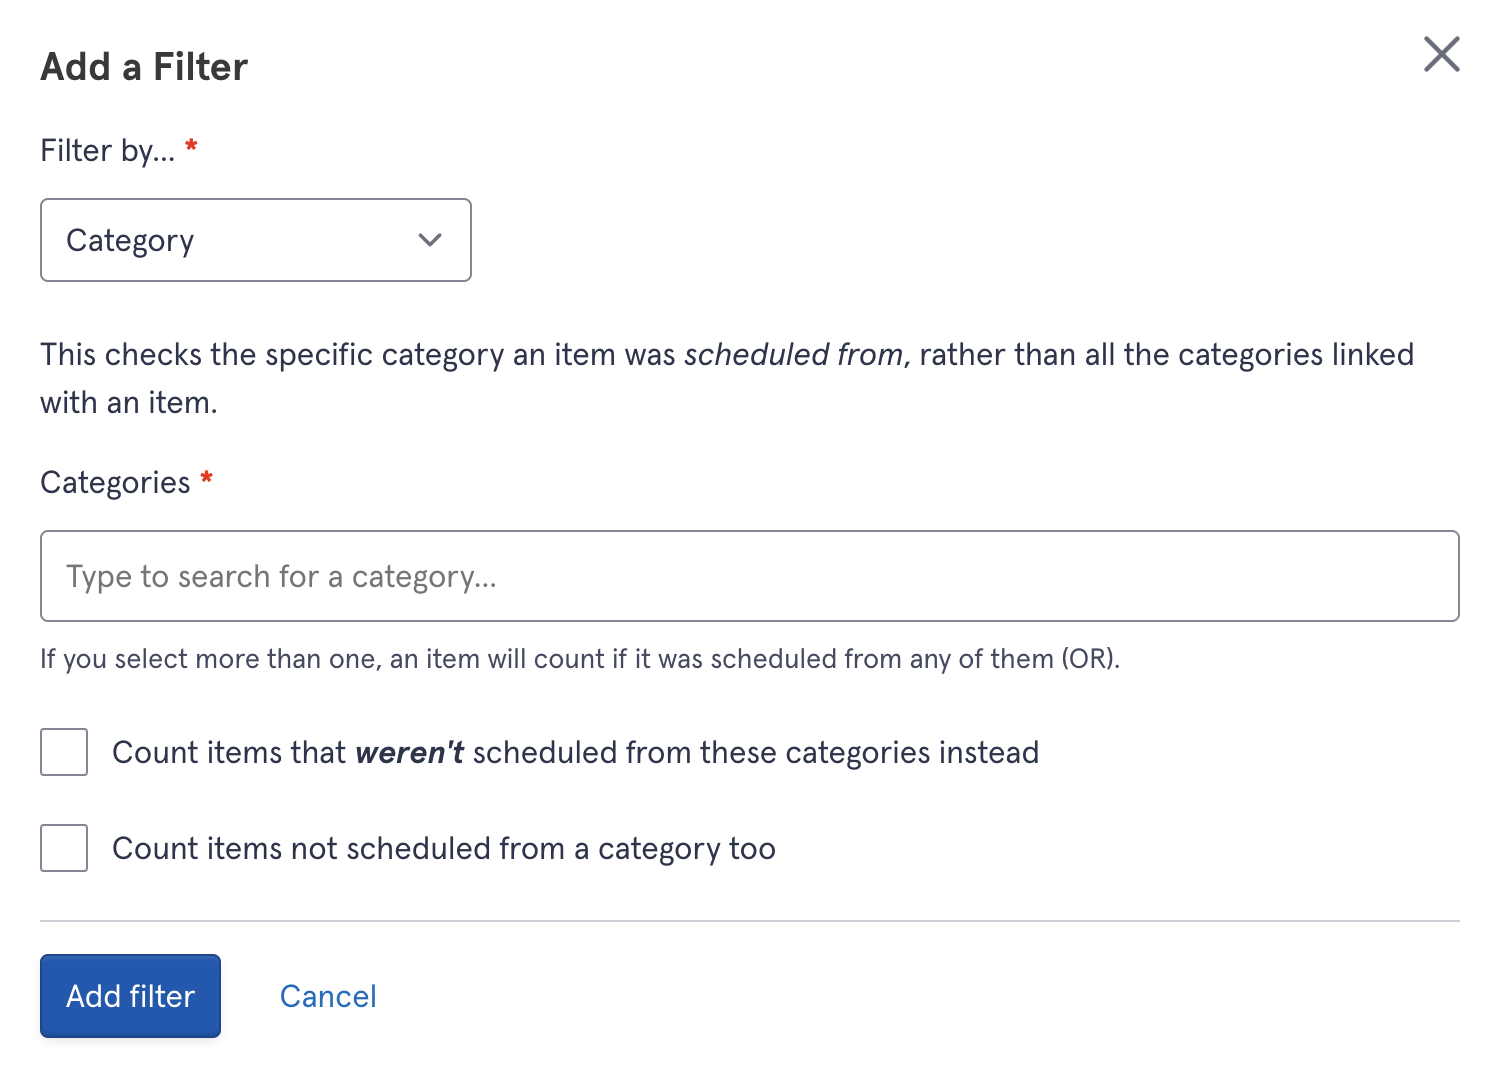
Setting up a filter.

📊 Columns
-
The initial report type you selected in Step 3 will pre-populate several relevant columns. These can be customised to add or remove song data from your report if you want:
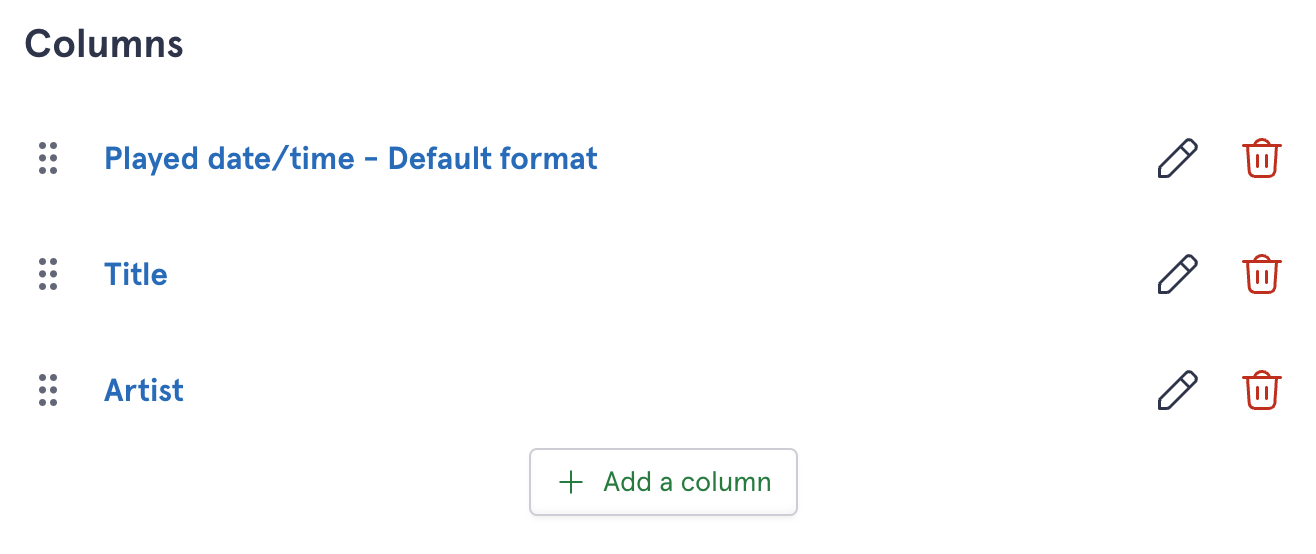
Adding, editing and removing columns. Every metadata attribute Scheduler has for your audio items can be included as a column, including custom audio fields.
Each column's name can also be customised on a report without affecting the rest of your library.
Columns can be re-ordered by dragging and dropping the handles on the left of their name (the six dots shown in the image above).

▶️ Running a report
-
Once you have created your report's structure, you can run and re-run it as many times as you need without having to go through each step every time.
When you first create your report, you can press the 'Run this report' button at the bottom of the page:
Running a report from the Edit screen. Once your report has been created, you can return to the 'Reports' page from your library's top navigation bar and press the blue 'Run' button on the list of existing reports:
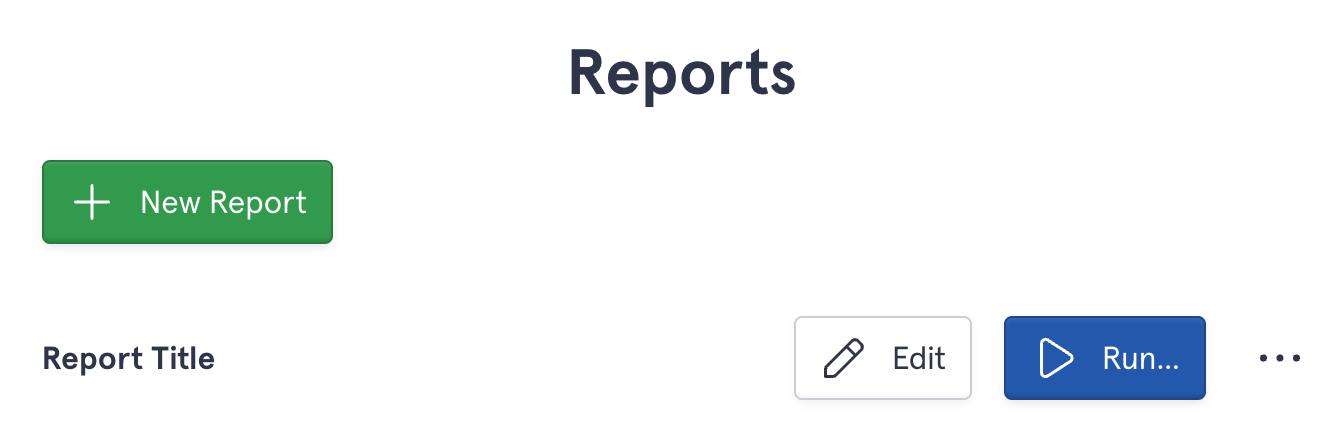
Running a report from the Reports overview. While editing the report, you can also set its default download format (PDF, CSV or TSV) so the data is in the most helpful format for you. Just press 'Customise the default download settings for this report' next to the 'Run' button.


🍁 Canadian Content reports
Radio stations in Canada need to provide regular reports on how many tracks from local artists are played to meet CRTC requirements. To find out how to easily set up a Canadian Content report, check out our dedicated guide.